This was a fun DIY project! For whatever reason I tend to shy away from DIY's, but this one seemed totally up my alley. Also, as far as redecorating, the apartment is coming along nicely and this totally adds to my style.
I've recently acquired a nice hat collection and instead of piling them on top of each other in my closet I found a really great DIY that showcased them nicely and added character to the place!
Overall, this hanging hat rack was a piece of cake and really fun to put together!
Materials needed are:
-
A copper pipe- can be any width and length you want but I went with 1/2" at 2' that suited this particular wall in the apartment.
-
Rope of your preference. I went with Sisal rope which is a tougher material. It's a little harder to knot, and sheds a little but overall is extremely sturdy.
-
Clothes pins
-
Hats!
First thing first is to loop the rope through the pipe
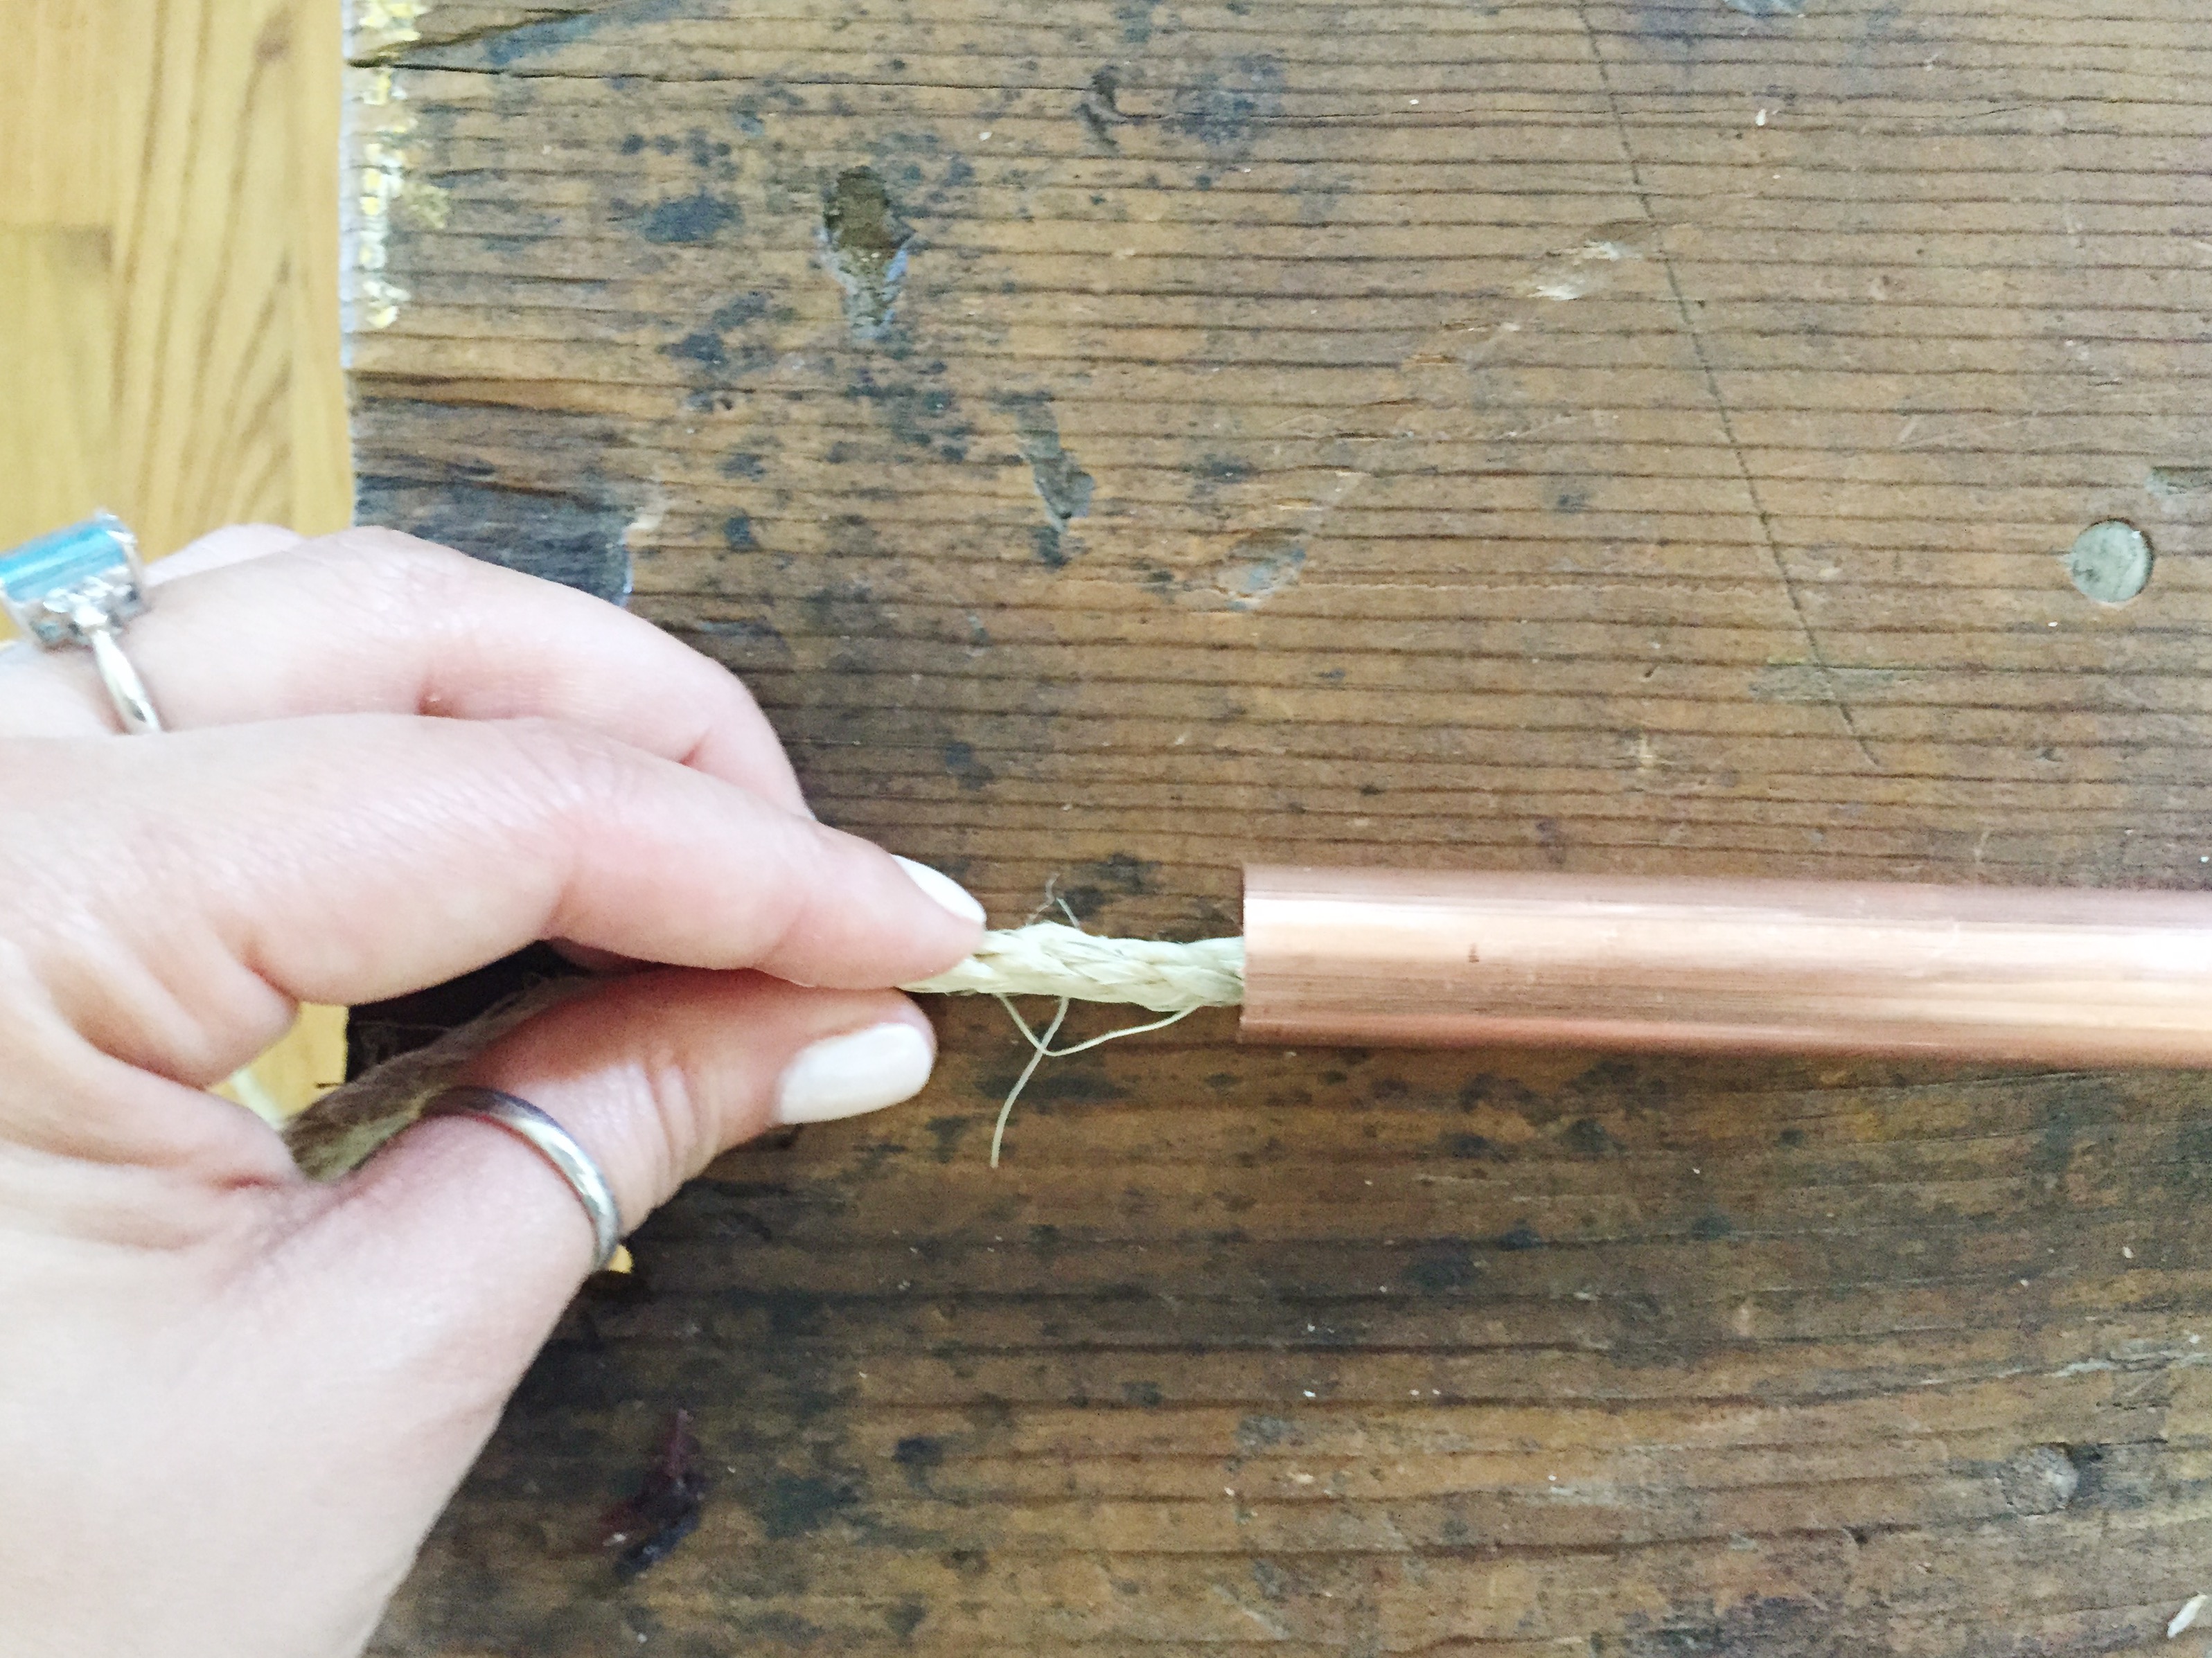
Depending on how you are going to hang it just make sure it is even so one side doesn't have more weight. I created a triangle shape and hooked the top of the triangle onto an S hook; but, you can hang it from the ceiling, or from the wall without creating a triangle.
You then want to loop rope evenly alone the pipe to hang your hats. Since my rack is on the shorter side I opted for four evenly spaced hanging rope.
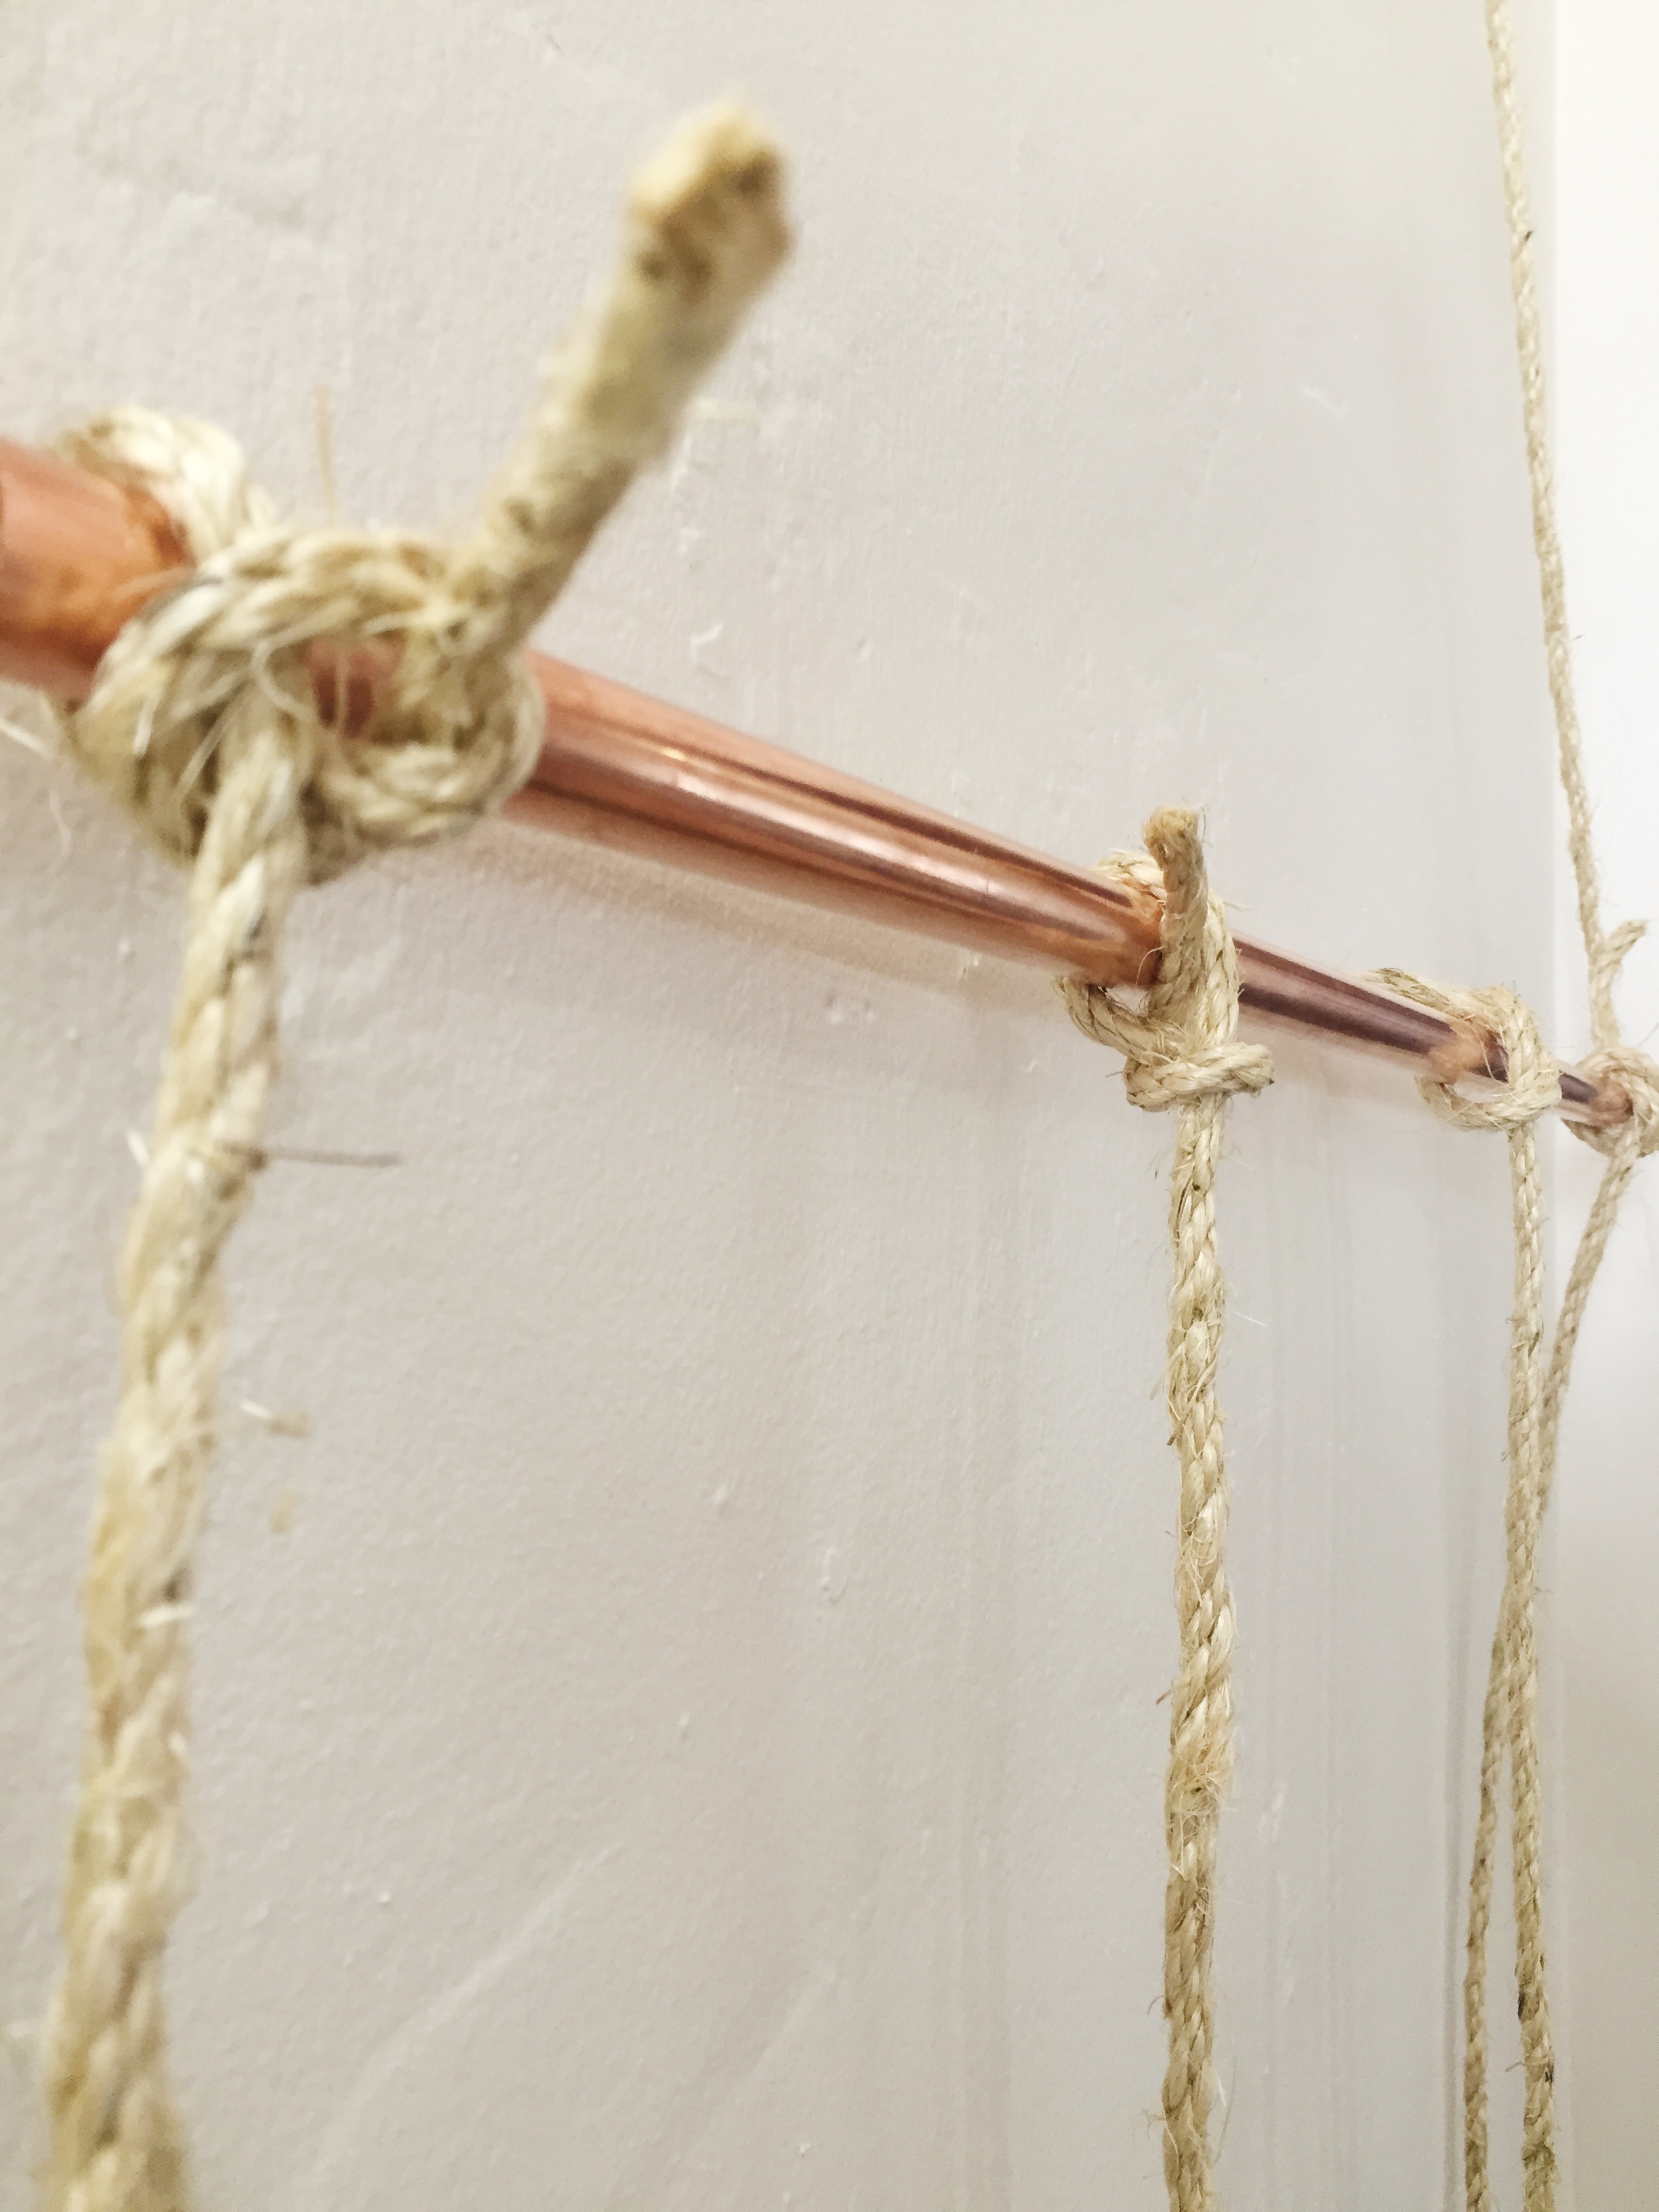
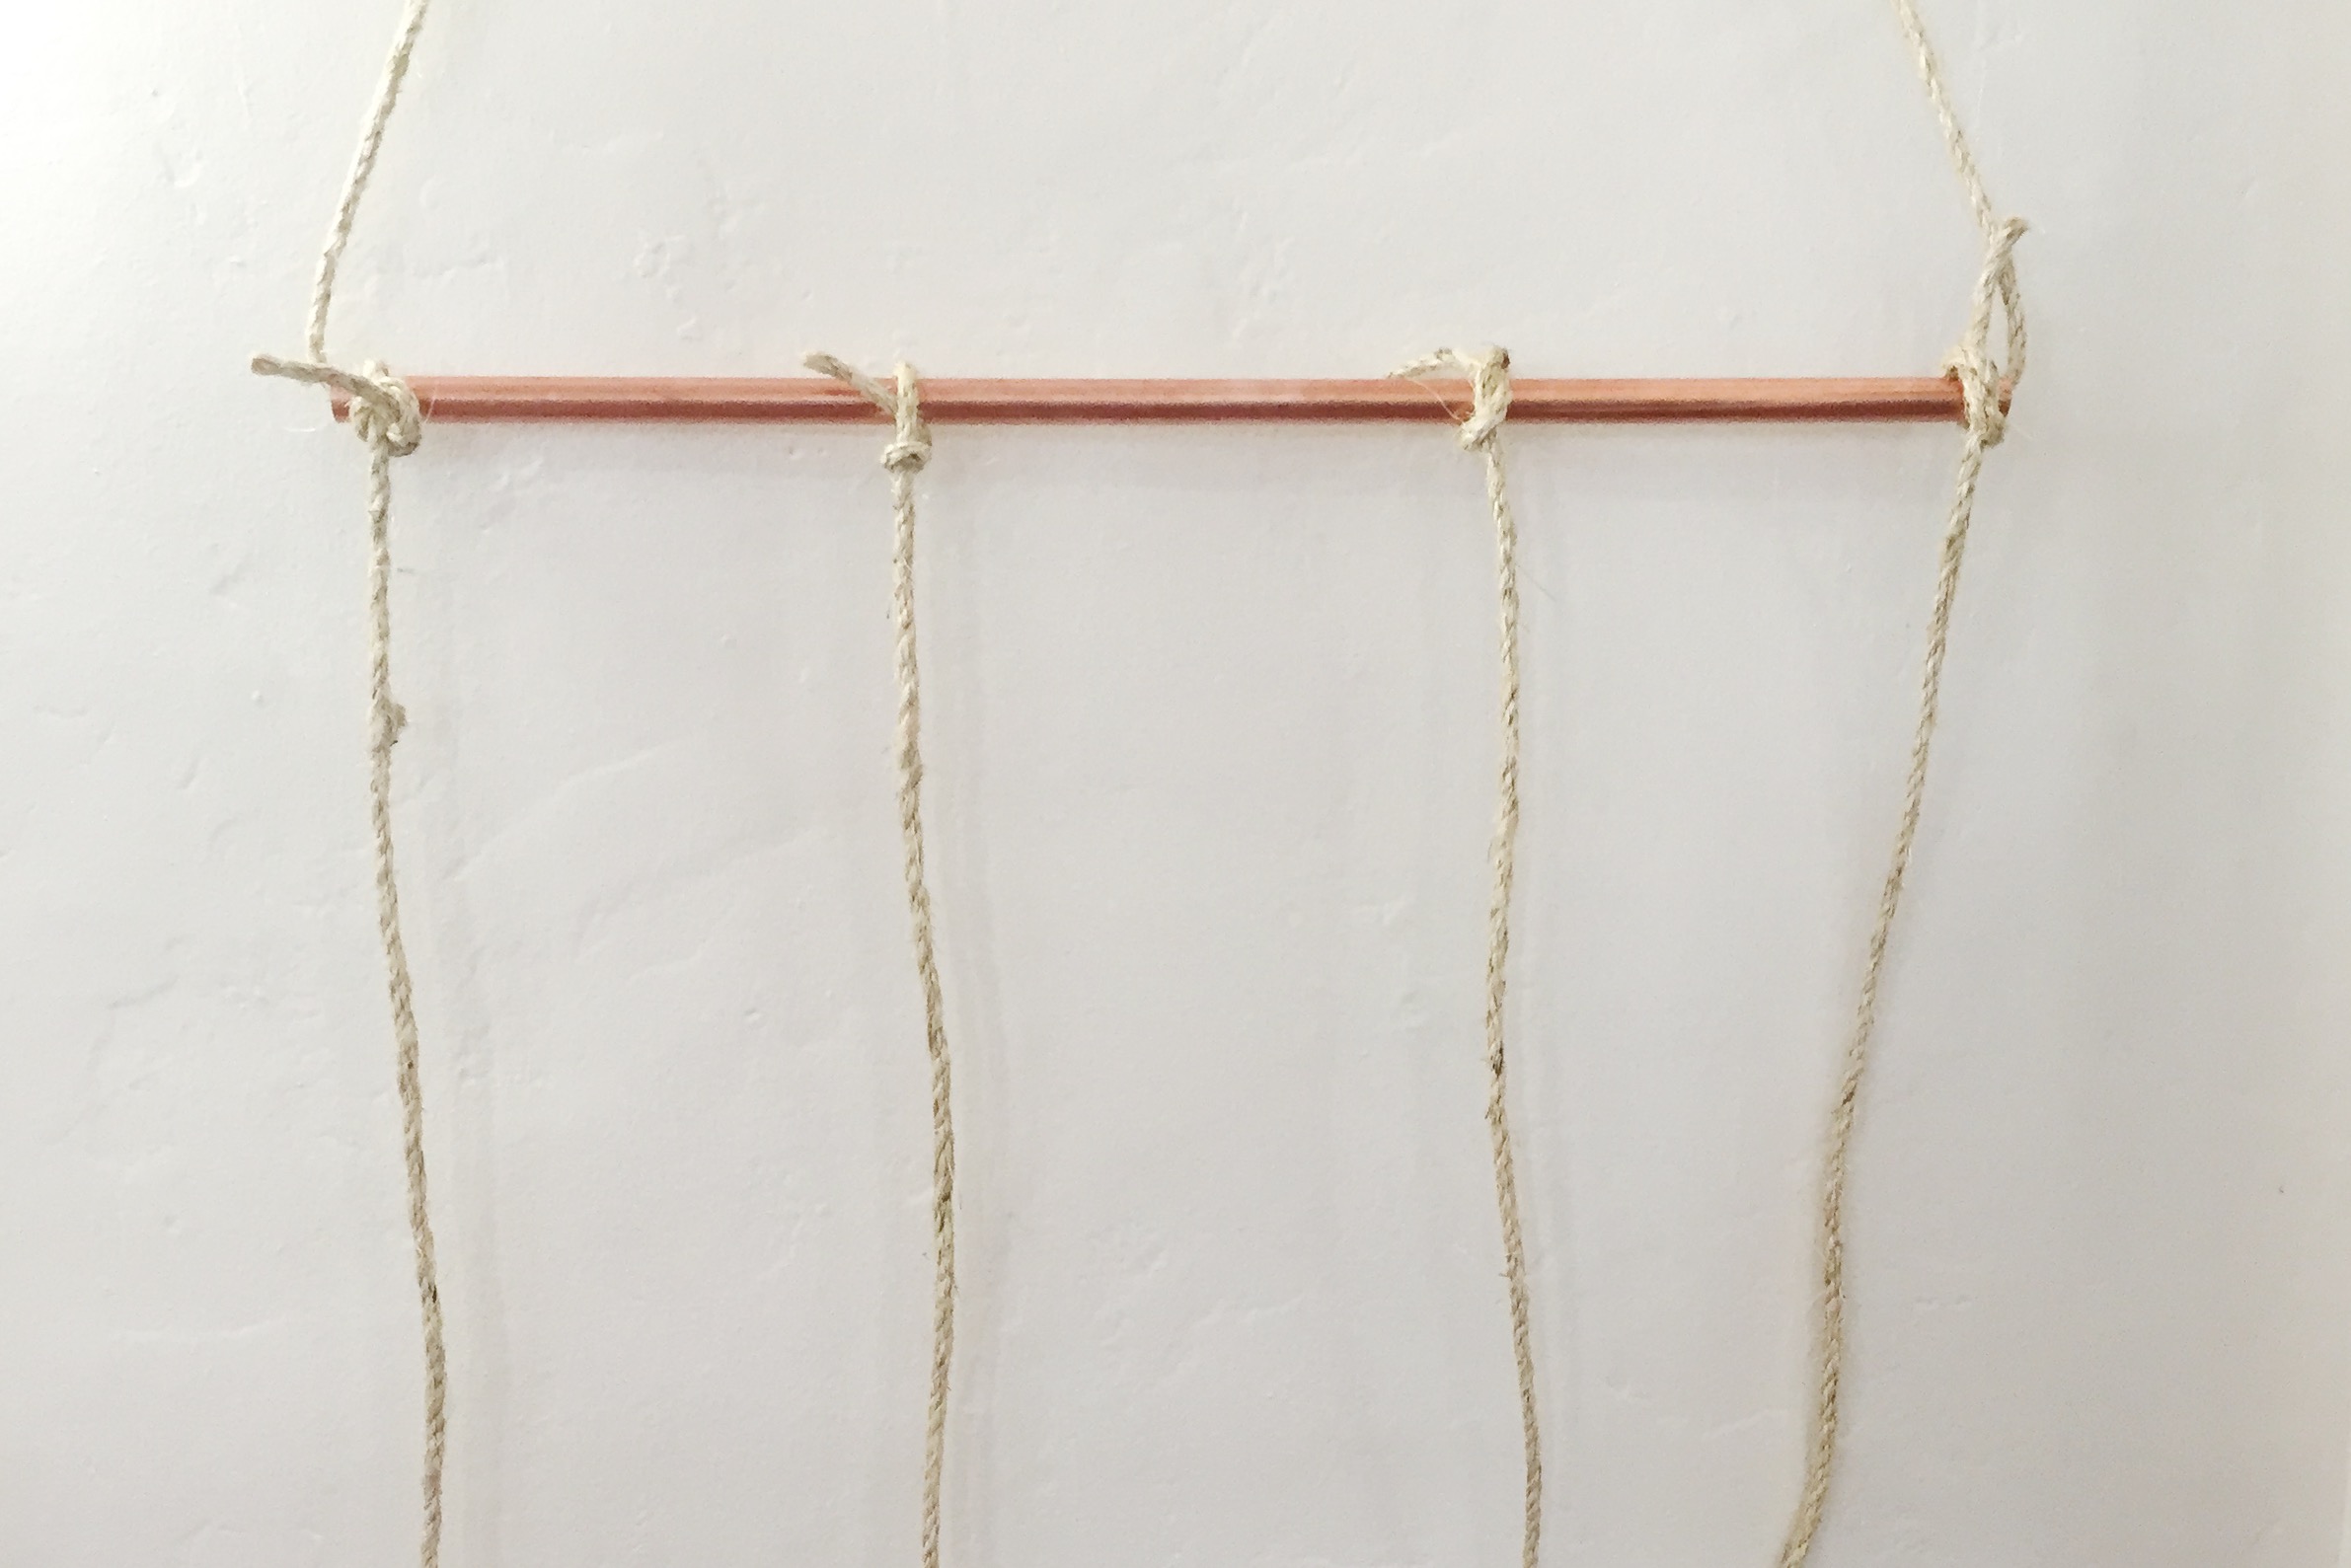
Make sure your rope has a good hold. Since hats aren't too heavy it does not need to be extremely tight, just enough so the rope does not unravel and leave your hats on the floor.
Then start hanging your hats! I used clothes pins, but you can probably use any kind of clamp for this to work.
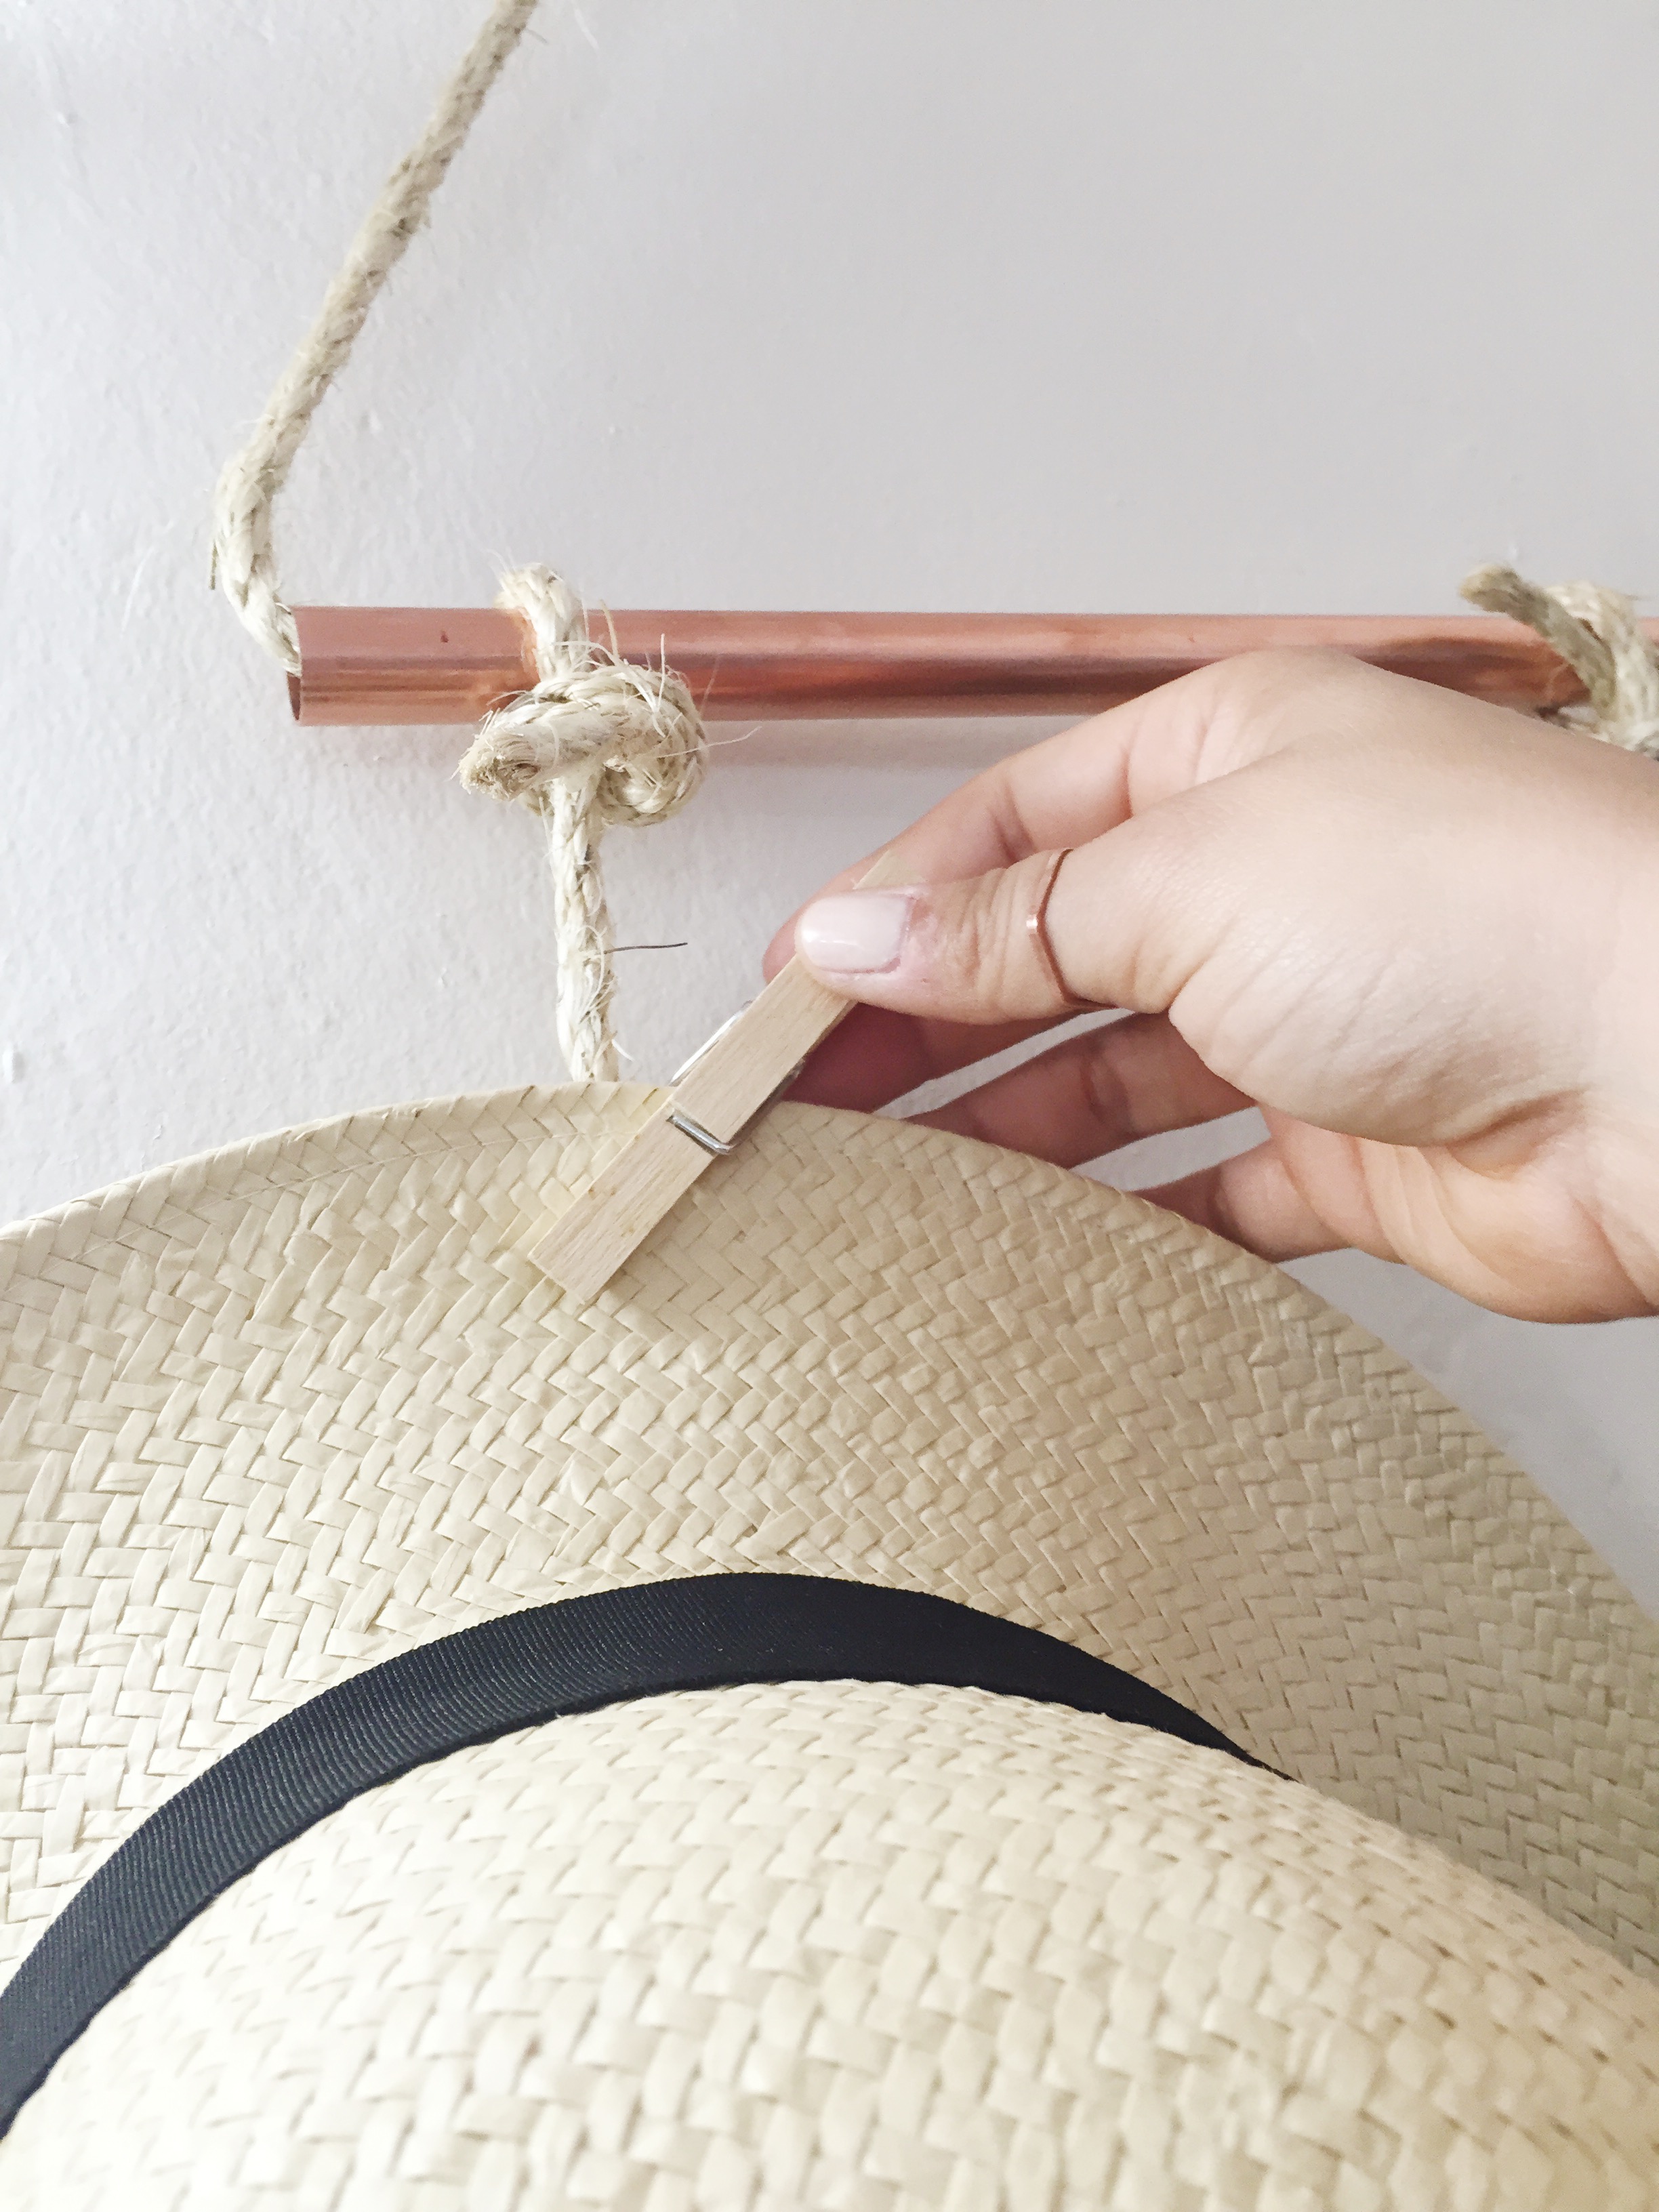
And finally all the hats!
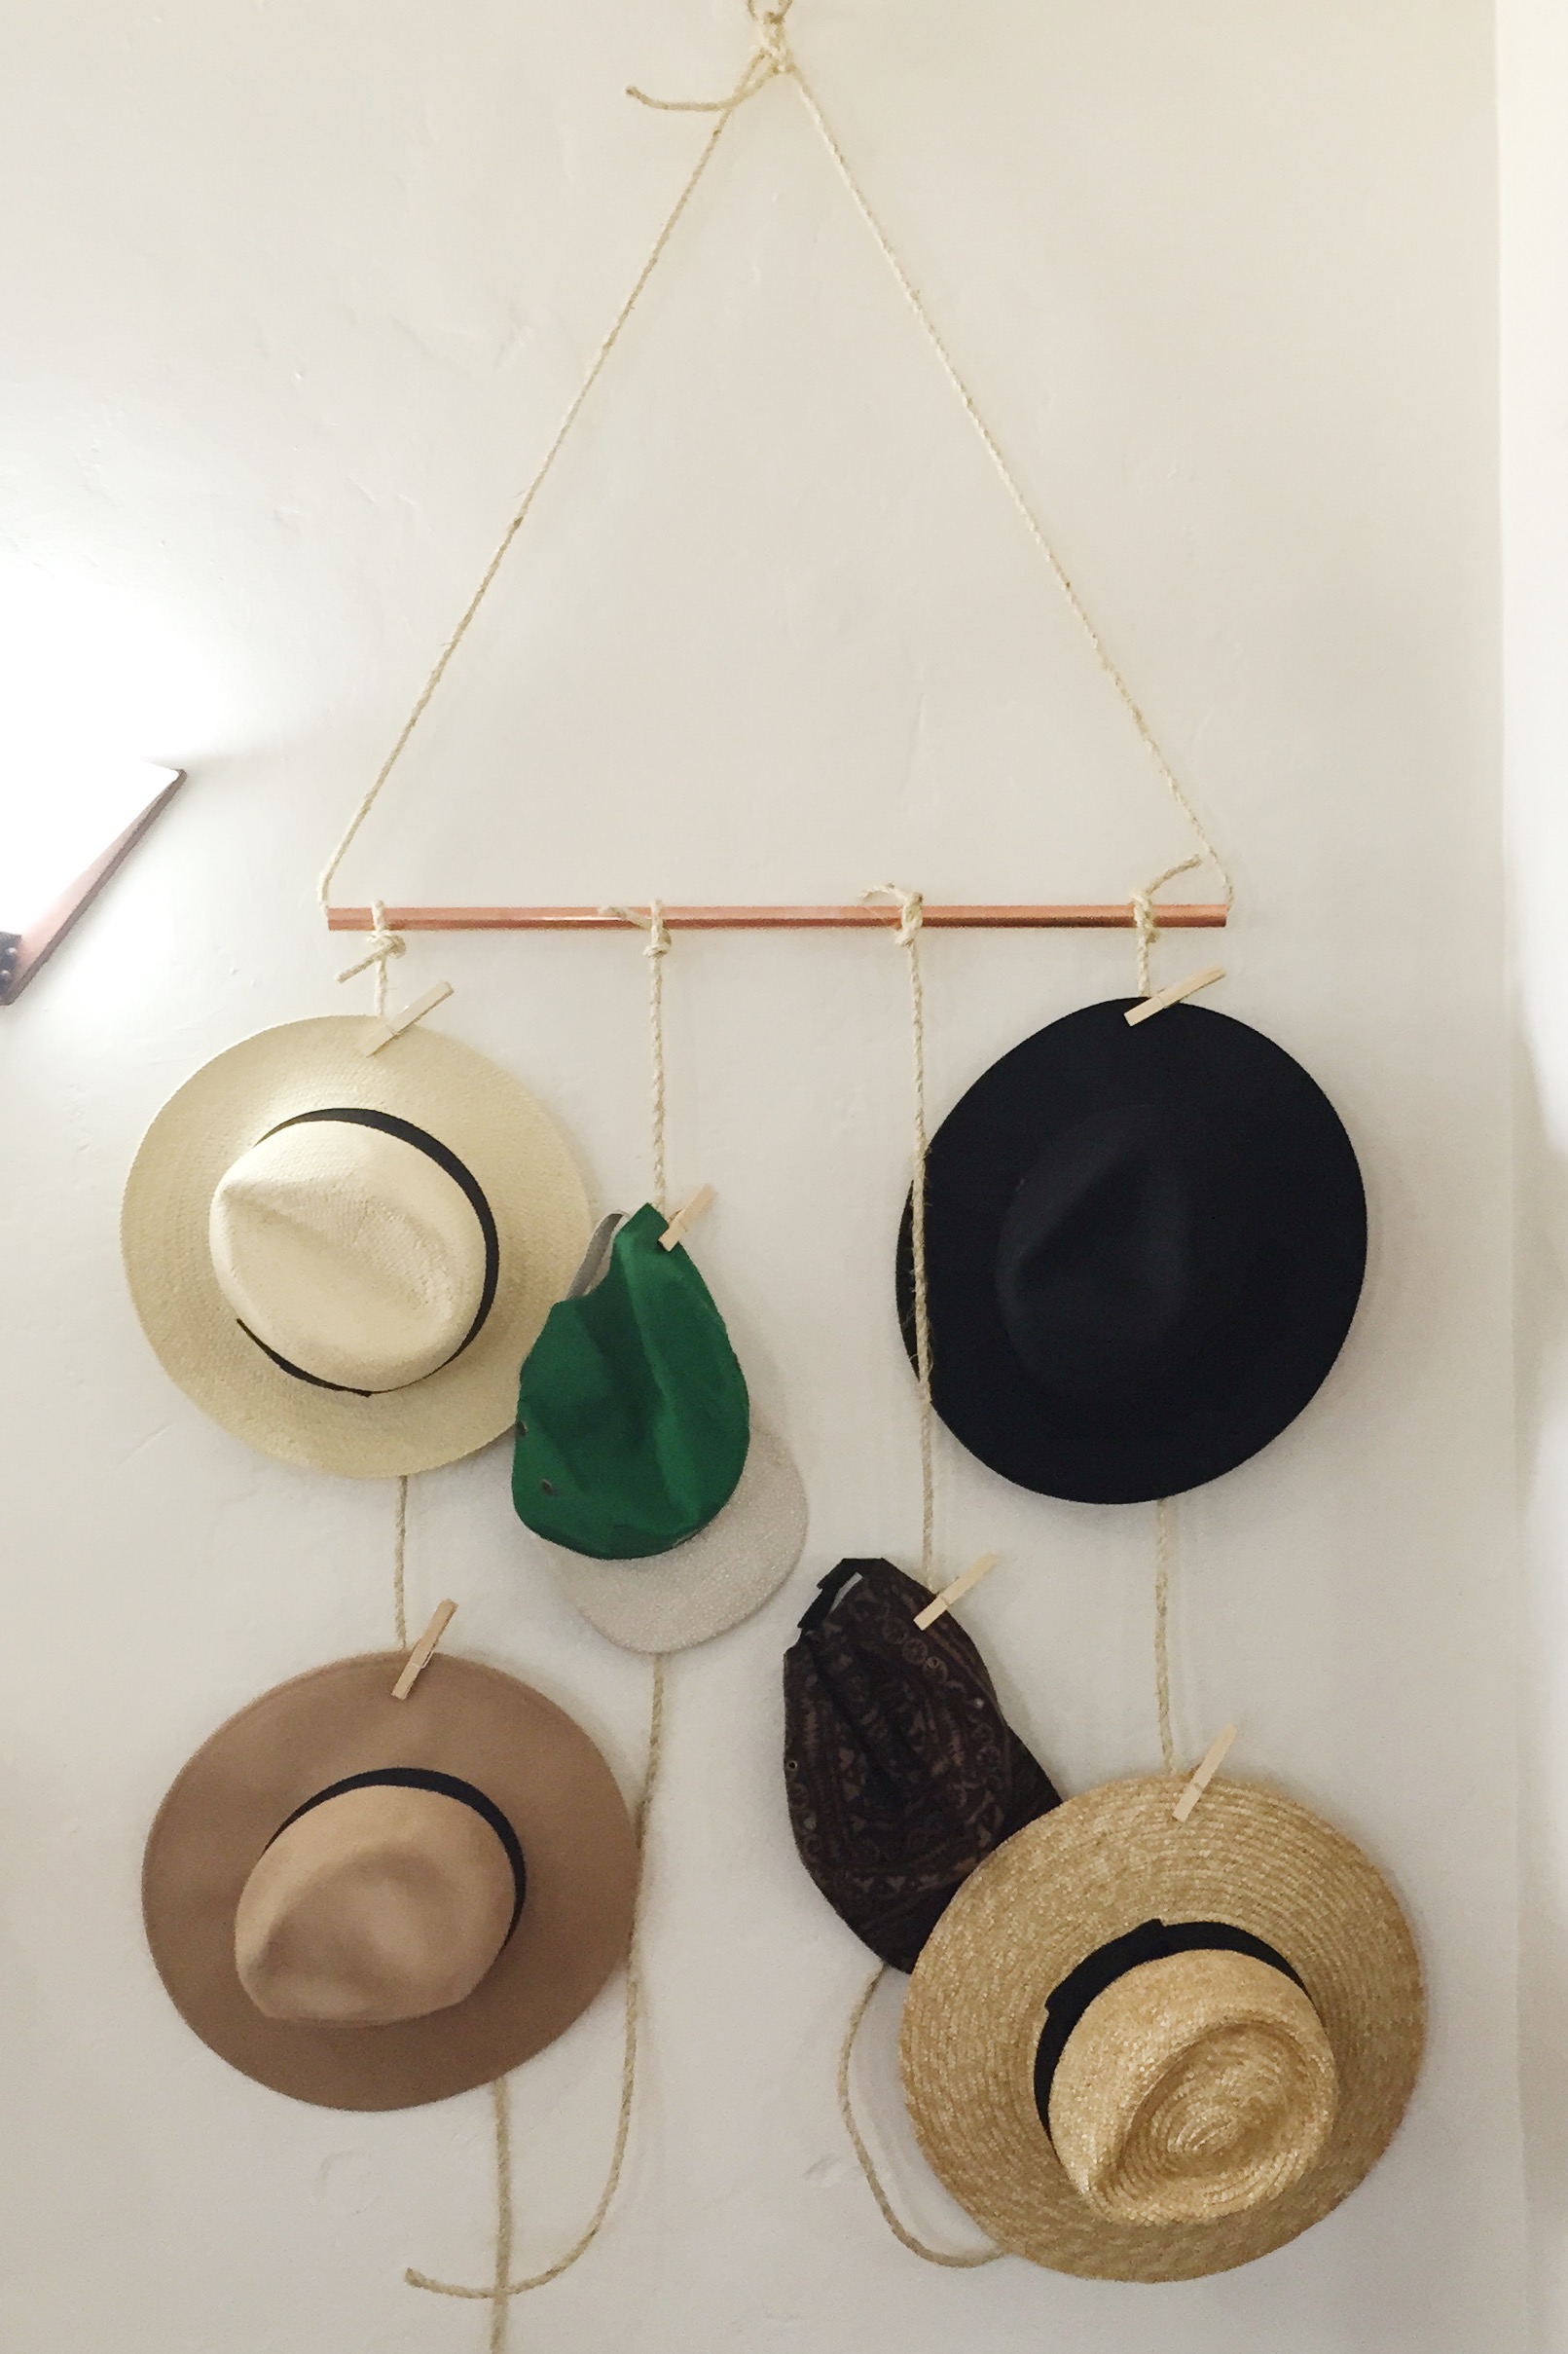
I'm extremely happy with how this turned out! This wall needed something so this doubles as an art piece and storage.
Happy DIY'ing!